Campaign idea
The LinkedIn Carousel
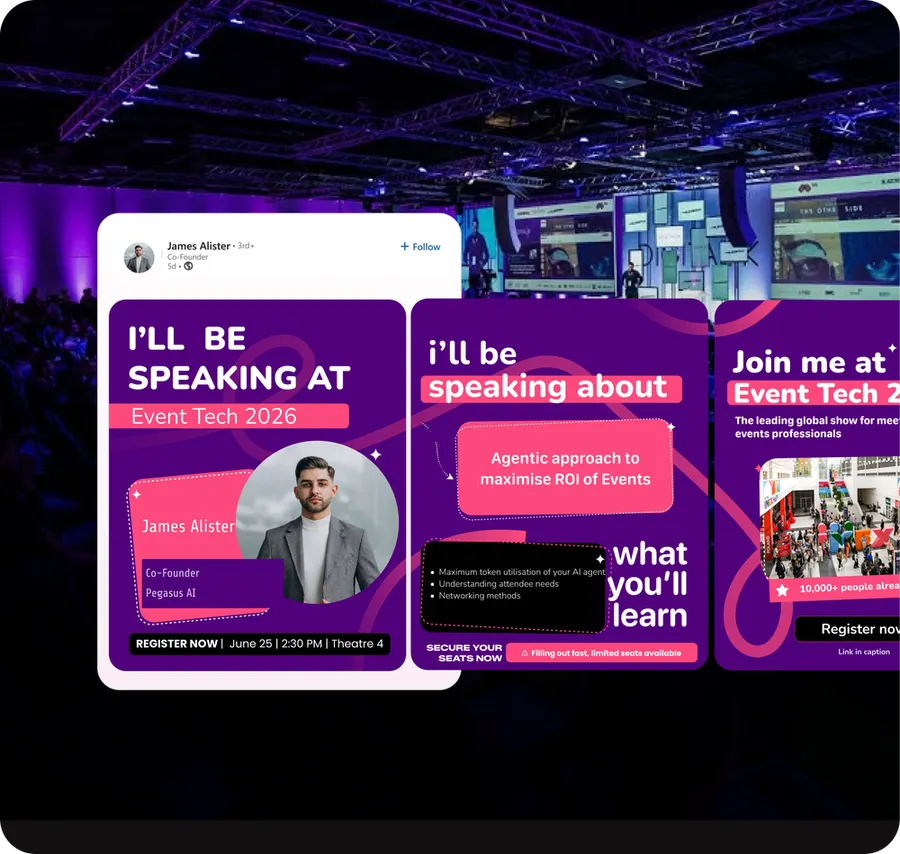
A multi-slide personalised recap. The format LinkedIn still rewards, built per person.
What it is
A single image gets a glance. A carousel gets swipes, and LinkedIn's ranking treats swipes as a strong engagement signal - so carousels keep outperforming single images by a wide margin.
The campaign is a personalised carousel per stakeholder: their photos, their sessions, their stats, their people. Same template, different data, generated in bulk.
- When to run it
- After the event
- Who does the sharing
- Attendees, Speakers, Sponsors
- What it's for
- Content library, Brand reach
- Effort
- Medium effort
Timing: 2-3 days after the event, once the photo wave has landed.
Why it works
- Dwell time per swipe is the metric LinkedIn's feed rewards most.
- Personal data makes the post about them, so it gets posted.
- One template covers attendees, speakers and sponsors with a different data set each.
- It is far more content per post than a single image, without more work per person.
How to run it
- 1
Design one template with a data-driven slide order
Cover, their photos, their sessions, their numbers, a closing slide with your event and next year's dates.
- 2
Vary the data by stakeholder
Attendees get photos and sessions; speakers get audience numbers and ratings; sponsors get booth and reach stats.
- 3
Put the payoff on slide one
If the cover does not earn the first swipe, nothing else on it matters.
- 4
Export as a PDF
LinkedIn's document post is what produces the carousel. An image gallery is not the same format.
- 5
Send it two or three days after
Slightly after the immediate photo rush, so it is a second wave rather than competition for the first.
Set it up in Premagic
The steps above are the campaign. These are the clicks.
- 1
Go to Campaigns
From the Premagic dashboard, open Campaigns and select Create Campaign.
- 2
Choose a template
Pick from the ready-made set or upload your own.
- 3
Select the recipient type
Speakers, exhibitors, attendees or sponsors. Each pulls a different data set into the same slide structure.
- 4
Customise in the editor
Colours, fonts and visual elements to match the event branding.
- 5
Add your event URL
Set it in the caption settings so the link attaches to every generated carousel. Easy to skip and the whole campaign loses its attribution.
- 6
Share with participants
A direct link, an email campaign or a WhatsApp send. Export as a PDF so LinkedIn renders it as a document post rather than an image gallery.
Pro tips
- Carousels get around 3.7x the engagement of single-image posts on LinkedIn.
- Speakers: lead with the session title and topic, then photo, name, title and company.
- Exhibitors: booth number, hall, the team attending and a meeting-booking CTA.
- Attendees: their role, their agenda, plus event scale and speaker highlights for borrowed credibility.
- Sponsors: branding across every participant carousel, not just their own.
Best fit for
- Turning participants into promoters before the event opens
- Driving registrations through warm referrals rather than cold ads
- Building LinkedIn buzz in the run-up with no paid media budget
- Measuring reach across every speaker, exhibitor and attendee network at once
- Delivering branded, consistent content at scale with no manual work per person
What you need
- Per-person photos and stats
- A multi-slide template with a PDF export
- Pre-written captions
What to measure
- Carousel share rate
- Impressions per carousel vs a single image
- Clicks to next year's registration page
Go deeper: The 10-Week Content Engine in the Event Advocacy Playbook.
Or read the original write-up on the Premagic blog.
Campaigns that pair with this one
 After
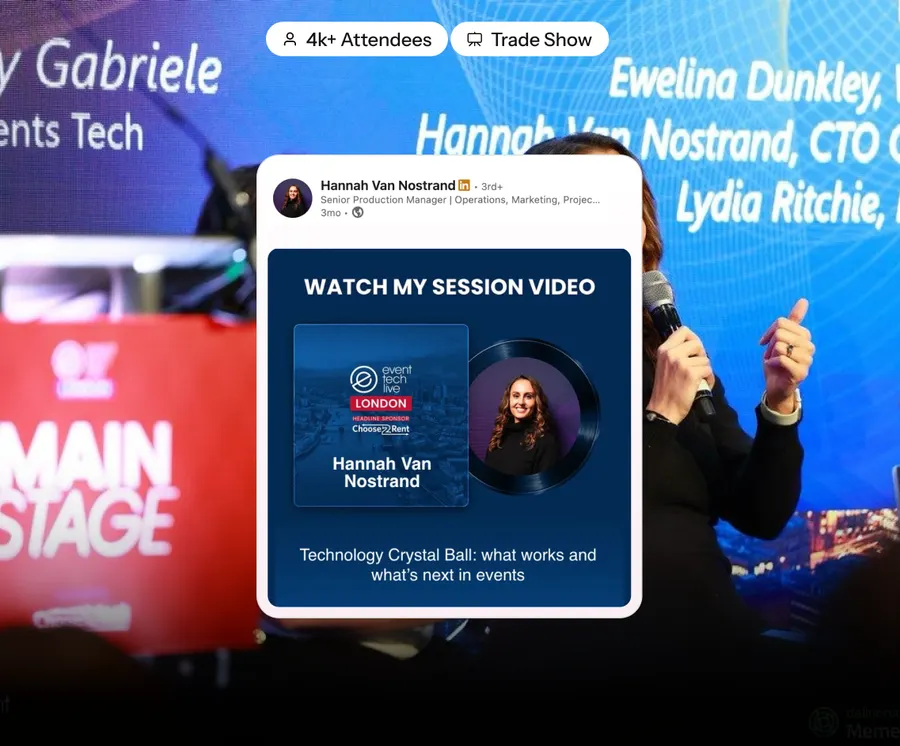
AfterSpeaker Session Recaps
A poster per speaker with their best line and a link to the recording. They post it; you get reach for months.
 After
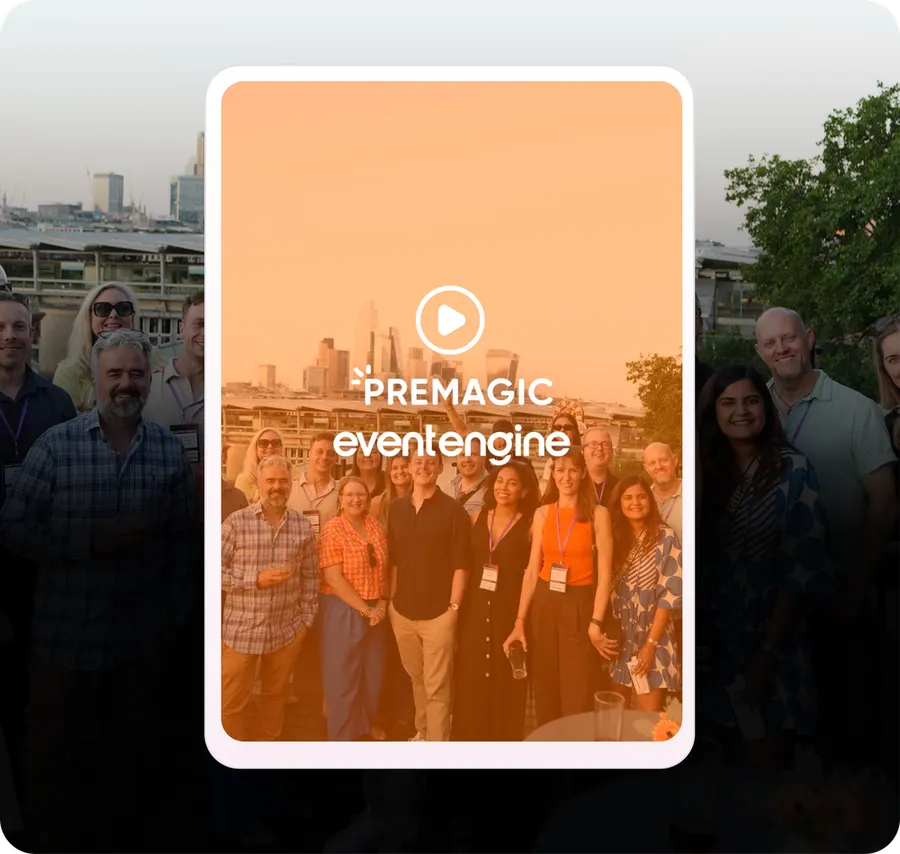
AfterVideo Sparks
A short personalised reel built from each attendee's own event photos. The highest-share asset you can send.
 After
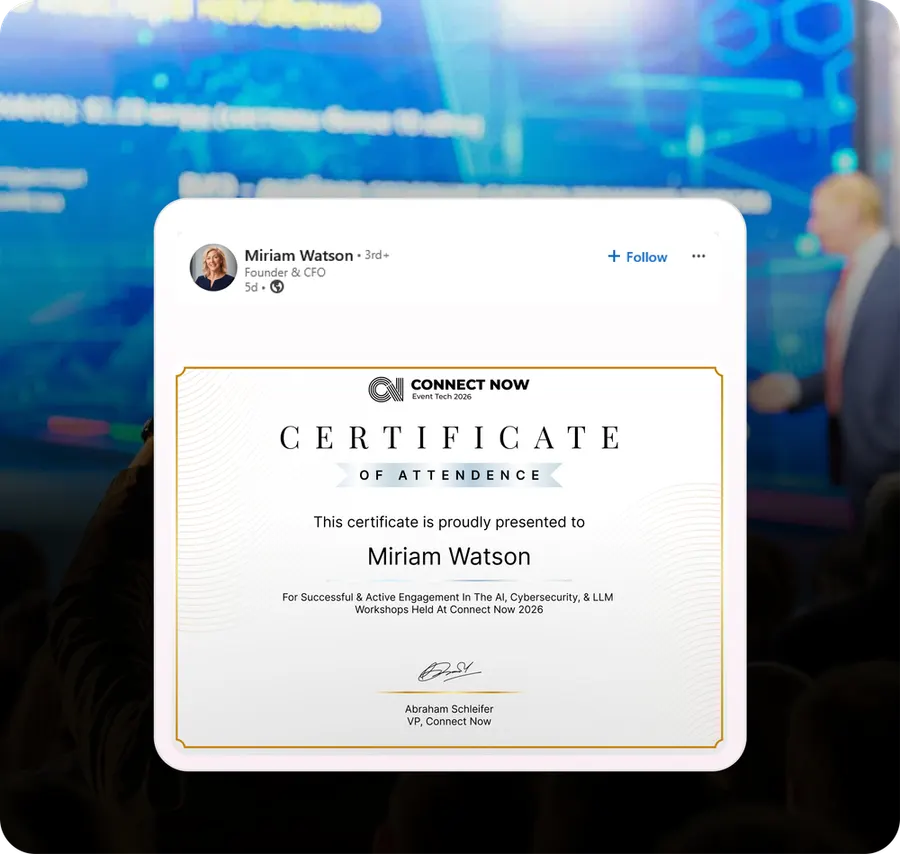
AfterThe Participation Certificate
A certificate people actually post - because it proves something rather than just thanking them.
We'll build the campaign with you
Premagic runs the assets, the tracking and the nudges - so the campaign actually ships instead of sitting in a plan.